The builder gave us some ugly ceramic towel bar and toilet paper holder, we decided to remove them and get the chrome one. It is interesting that I couldn’t find a lot DIY information on this topic, so I decided to write one up to help other people.
How to remove the ceramic towel bar and toilet paper holder?
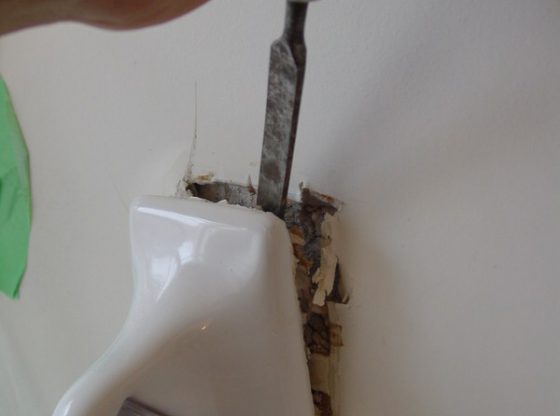
Those cheap looking (indeed they are not cheap) ceramic fixtures were GLUED to the drywall, believe it or not – no screws or nails! So, hammer it using chisel or a big screw driver will work. I am not sure if I applied too much force or the they put too much glue on it, when I removed the left hand side towel bar, I left a big dent on the wall. However, it wasn’t too hard to fix. Just tape it with heavy duty fiberglass mesh will fix it. It’s drywall, how hard can that be?
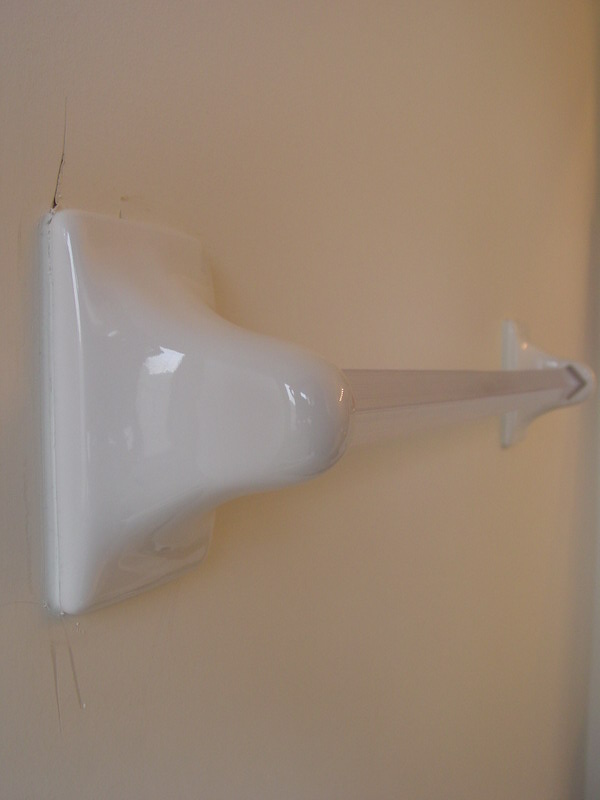
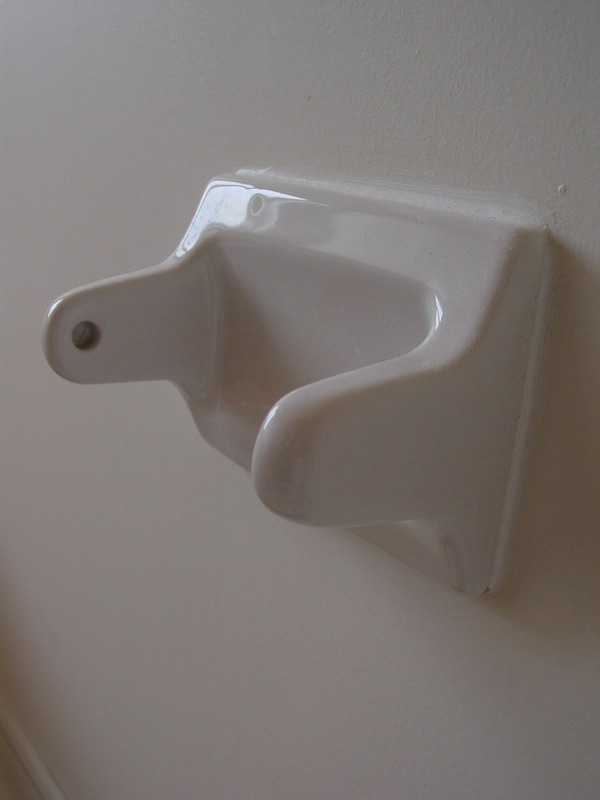
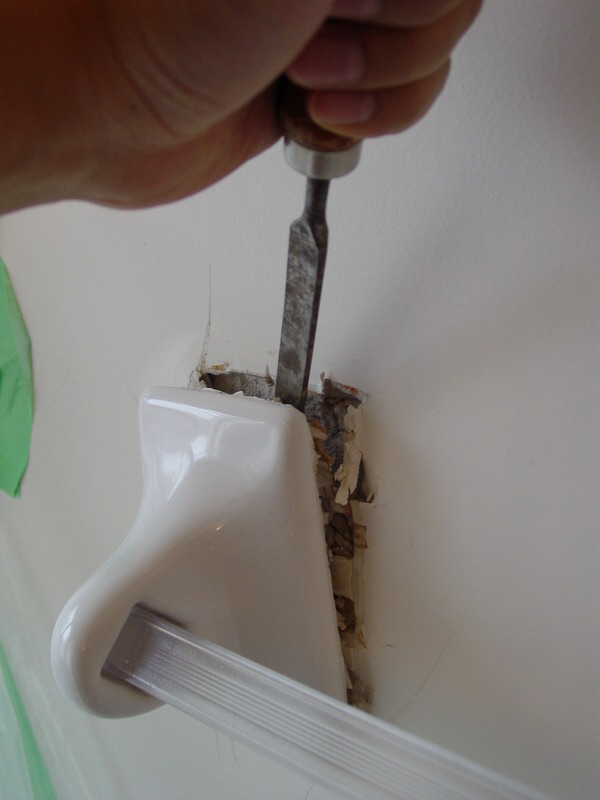
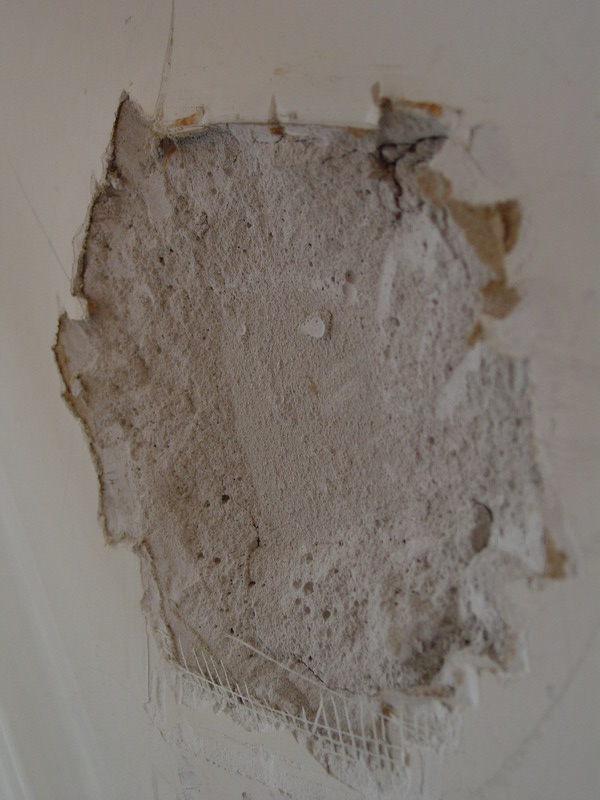
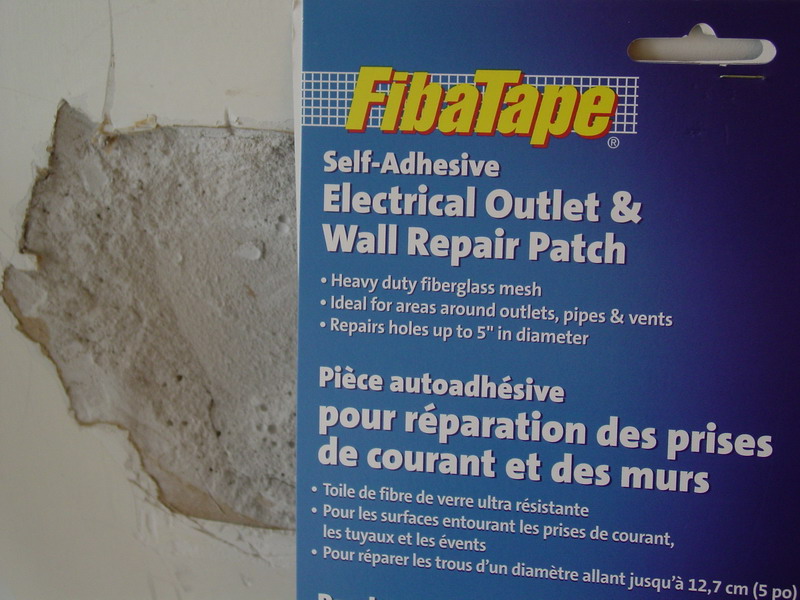
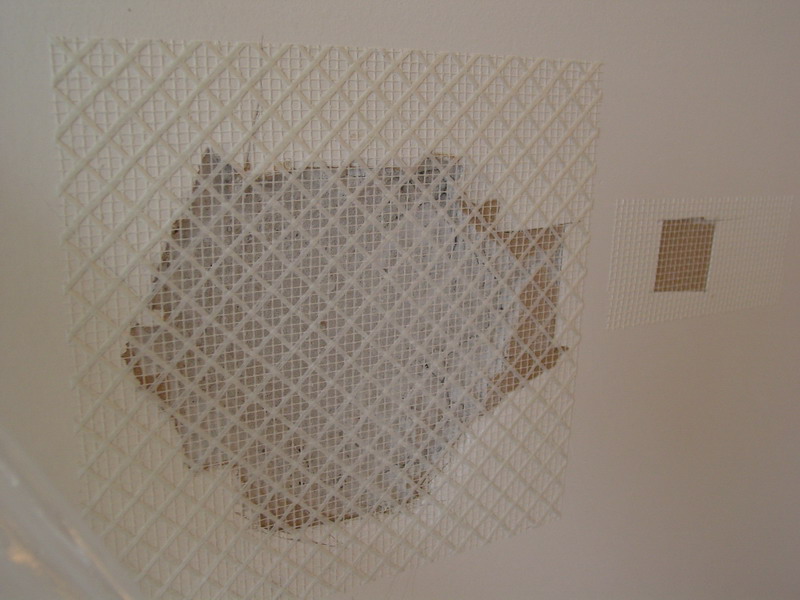
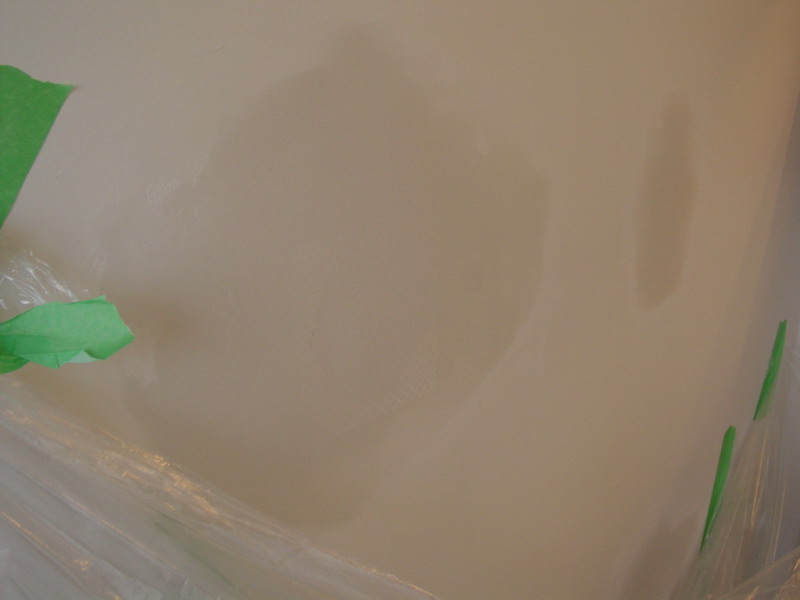
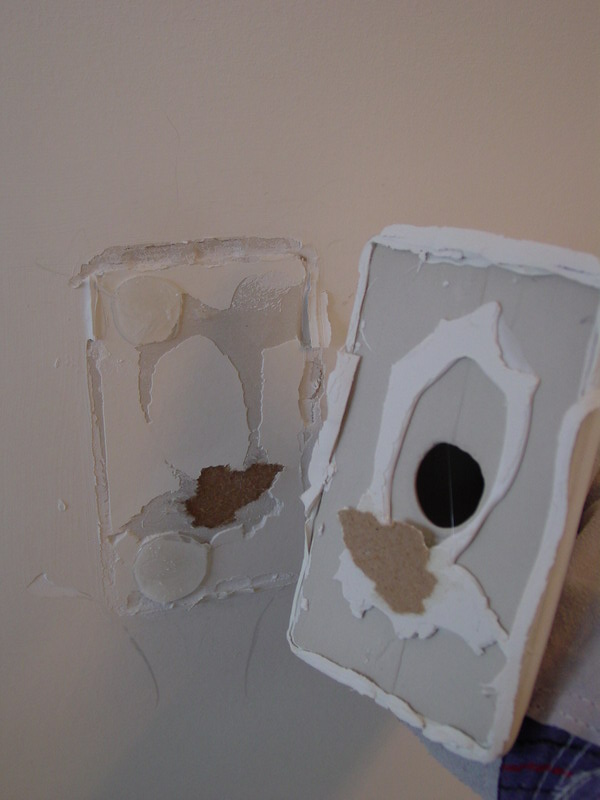
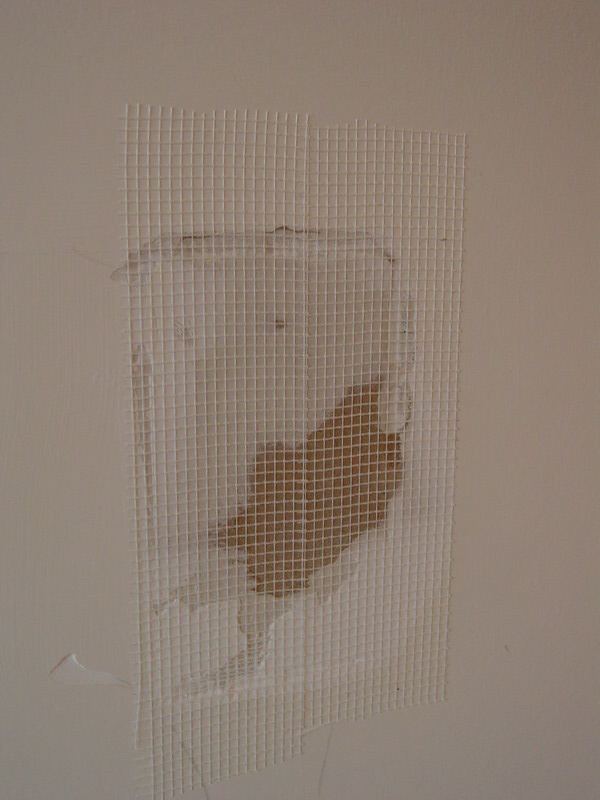
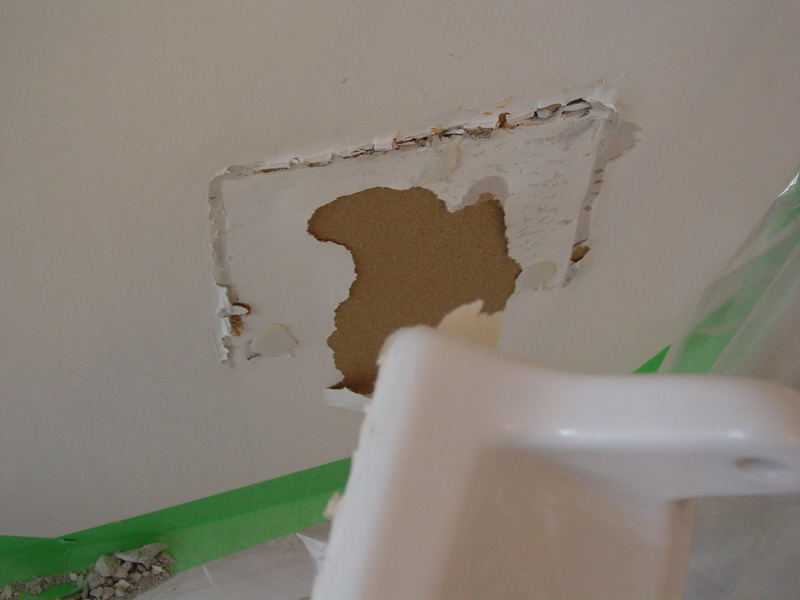
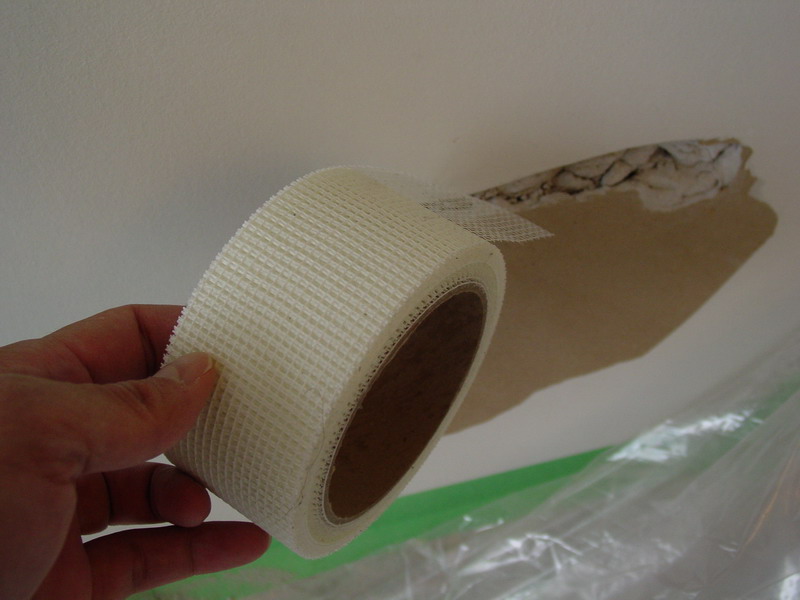
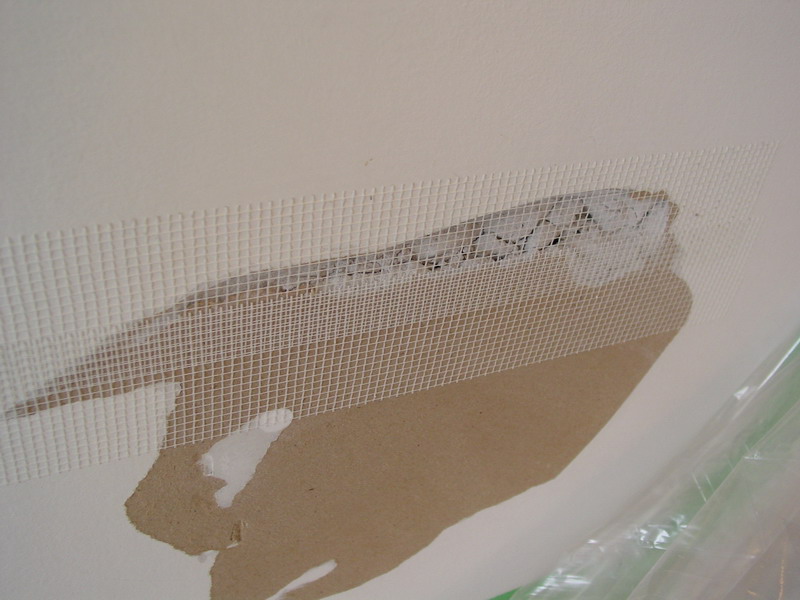
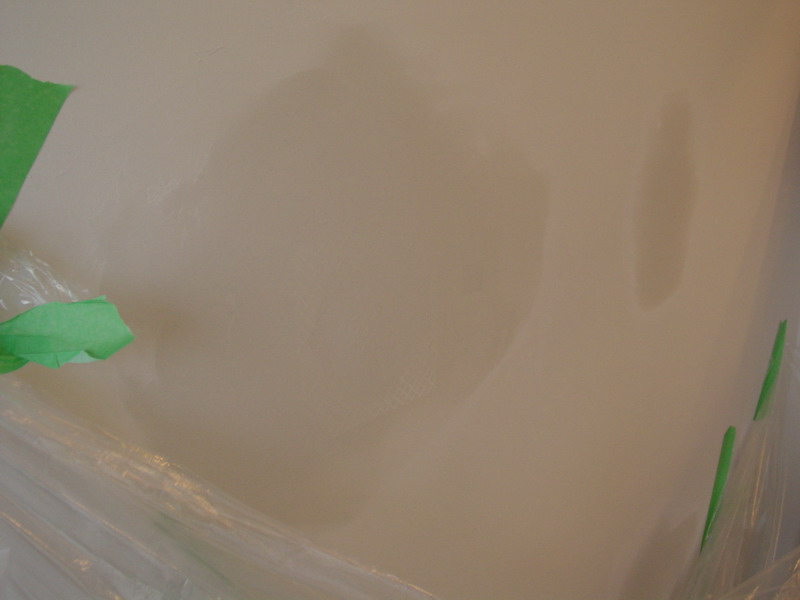
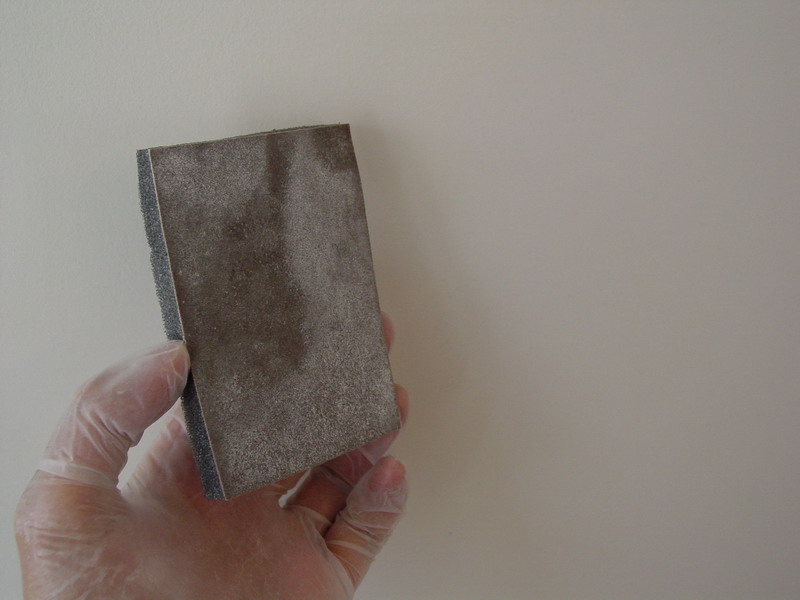
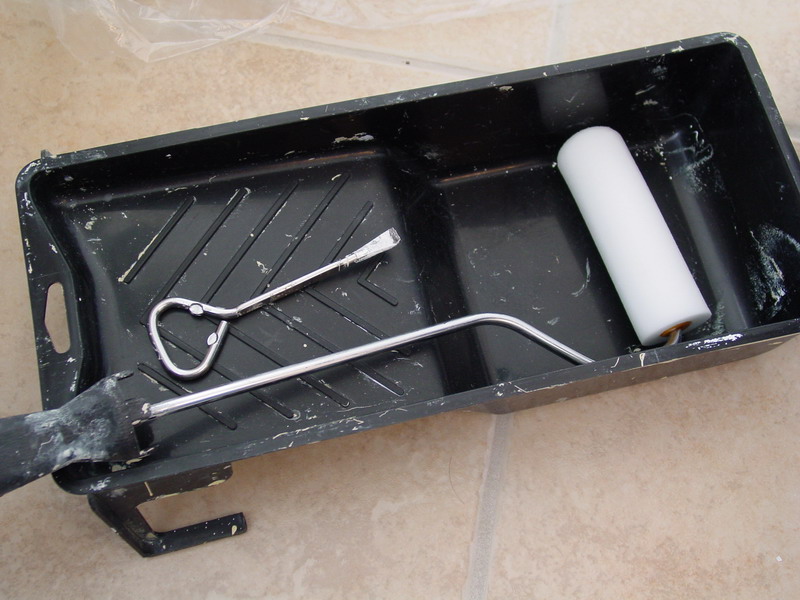
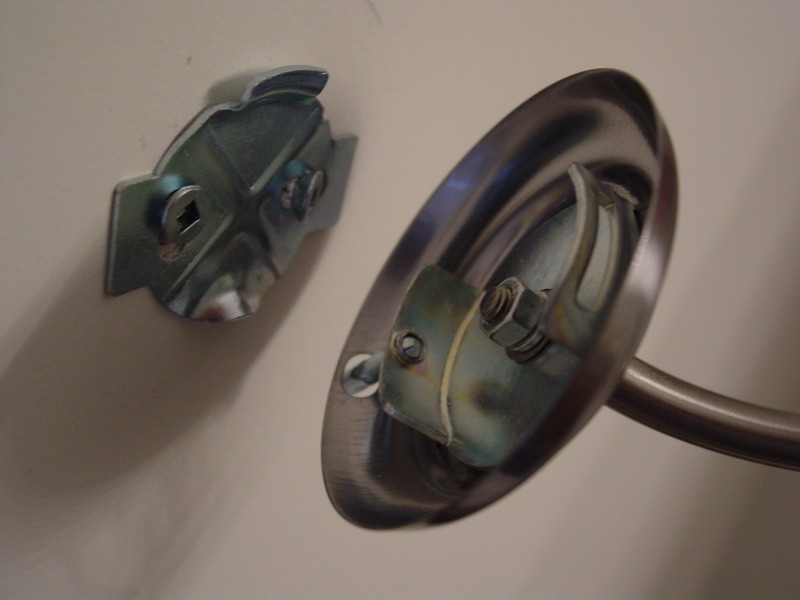
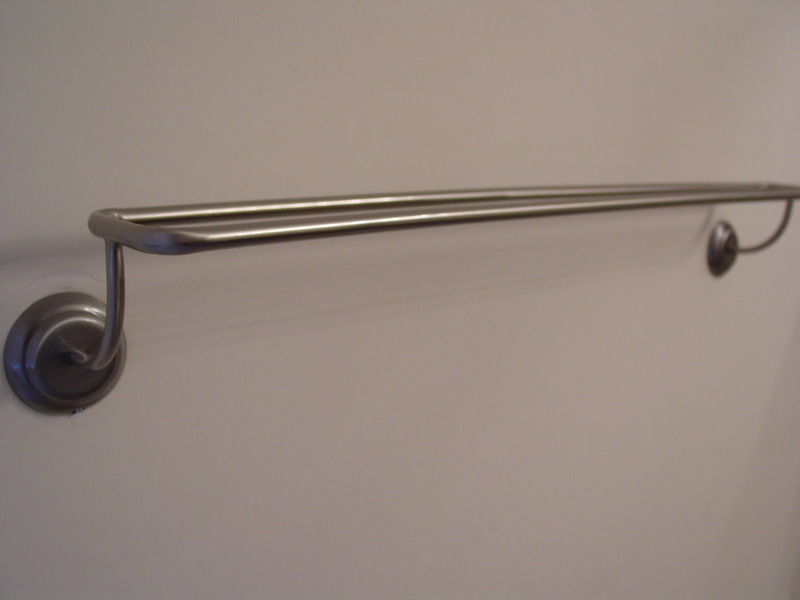
As you can see in photos, the other side of the towel bar and the toilet paper holder was much better. I didn’t even have to use the heavy duty FibaTape. I just used the regular fiberglass mesh. Tips: Do not use paper tape unless you are professional, use Fiberglass mesh instead. The reasons (1) Moisture in the drywall compound makes the paper become soft and you won’t be able to work with it. (2) When it comes to the sanding part, paper tape will form some rough surface if you are sanding too deep. (3) Fiberglass is stronger than paper, yet more expensive of course.
Patching, Sanding and Painting
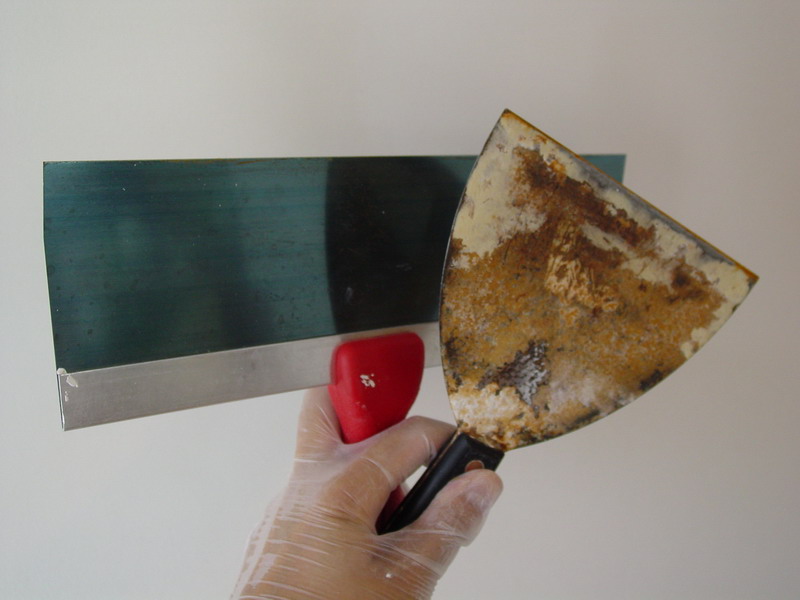
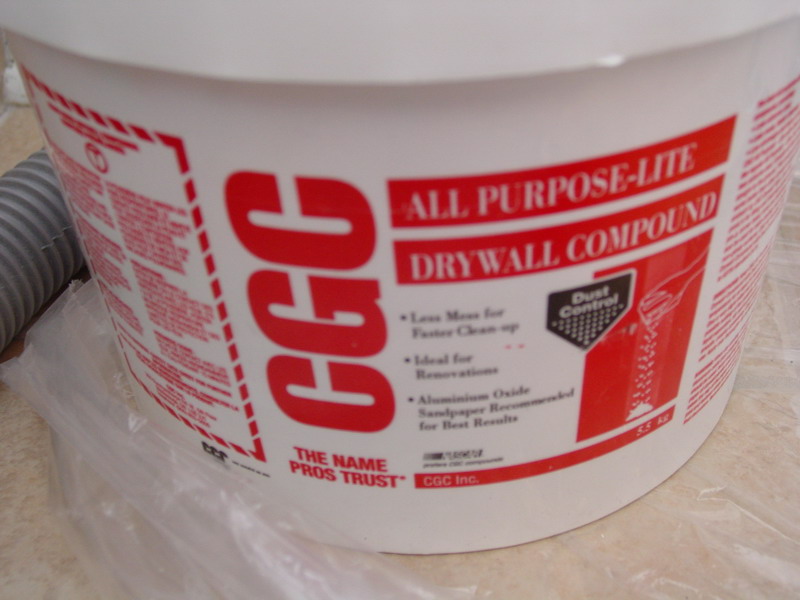
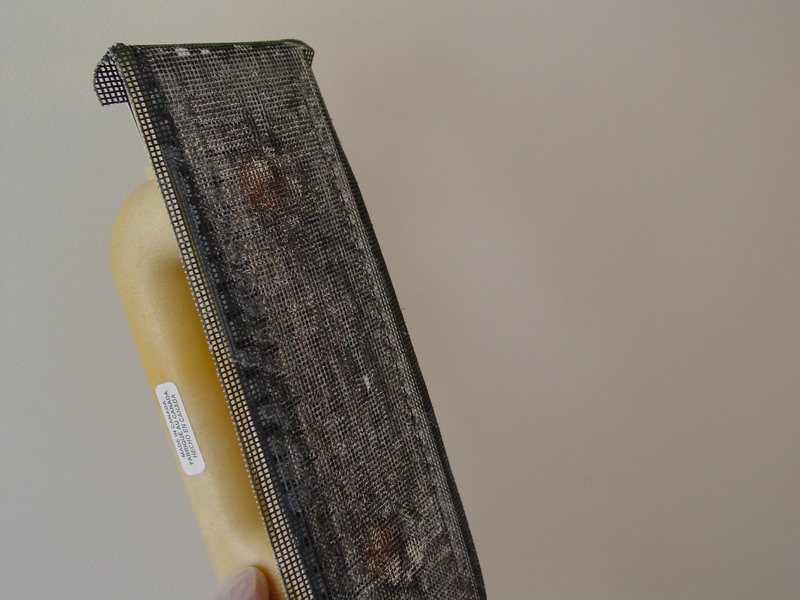
I used the CGC dust control drywall compound, and you do need 2 basic drywall tools to do the job. After 24 hours of drying, I sanded the wall using drywall sand paper (Rough) and then lightly re-applied drywall compound to fill out some uneven area. The next day, I used a sanding block (Fine) to obtain a smooth finish.
Sanding Tips: Use a sanding block (FINE) with light pressure will get a very smooth finish on the wall. Rough sand paper takes away too much drywall compound too fast, it’s not easy for DIY users.
Painting Tips: Do not use BRUSH unless you are professional. Always use roller if possible, because brush leaves brush marks on the wall (unless you buy a $20 brush). Generally, use brush only on the edges where roller cannot be reached.
Installing the chrome fixture
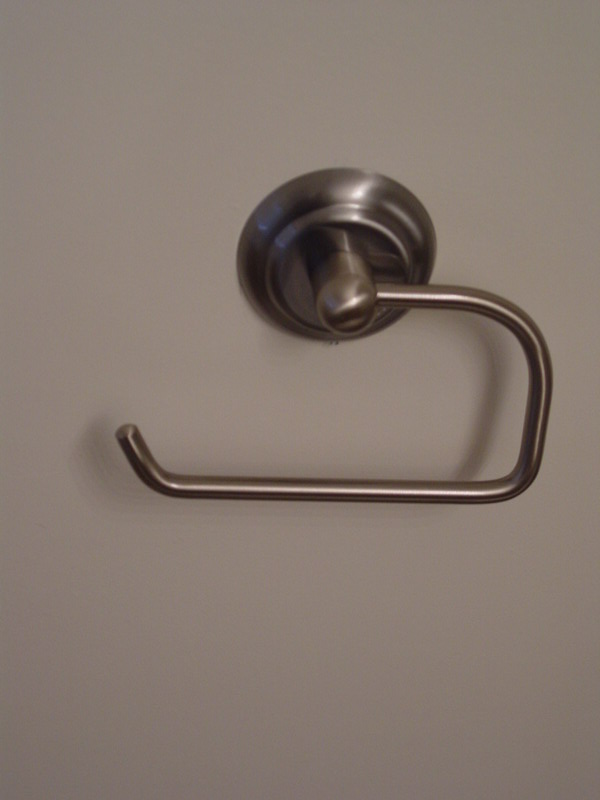
We got these chrome towel bar and toilet paper holder from IKEA. Well, my comment is: You pay for what you get, it’s not as strong as I expected. At least they look better than the ceramic and plastic towel bar. Tips: If you buy a new house, ask the builder NOT TO install those ugly ceramic towel bar and toilet paper holder. Then you don’t even have to even read this.
When you sand the surface, is the fiberglass mesh tape sanded off? Thus making an entirely flat surface?
You don’t sand the mesh tape off, because one of the reasons of the tape is to strengthen the wall and also to prevent it from having cracks. Indeed the drywall won’t be 100% flat, but since the mesh tape is so thin, you won’t really notice if you have done a good job.
Thanks for the post. Saved me a trip to Home Depot hitting up someone for advice on what’s behind the towel bar and how to remove it. I guess nothing more than brute force and a bit of finesse.
Jason
Thanks for this post. It makes the project seem do-able and I\’m hoping to get my husband on this one soon. I hate those ceramic fixtures..plus they are installed way too low for us to use!
Well, since this is still out of my league, and it’s a rental house, I am ok with leaving the ugly ceramic fixtures, but once I change out the toilets, it does not match anymore. Can these ceramic fixtures be painted? It’s currently a bisque and I need it to be white. Thanks!
All I can say is THANK YOU, THANK YOU, THANK YOU for the info!!!!!! Really wanted to remove the old ugly ceramic, and this was the best advice I found. They came off VERY easily. I now just have to repair the drywall, but feel confident that with the pictures and detailed instructions, I will be able to do so. This is my 1st home improvement project, so wish me luck!
Thanks for the post. Many people find it hard to deal with those kinds.
If Louise can do it anyone can
Just moved into an 80’s house a few mos ago w/ hubby & kids. Hate the ceramic towel rack/bar & toilet paper holder. Seriously. Ours are a puke yellow colour. YUM. THANK YOU FOR THE INFO!!! I’m off to impress my husband w/ my DIY project 😉 I want to paint the walls in there before my in laws come on Thursday, but I can’t do anything until those things are GONE. It’s Monday. I better get busy 🙂 🙂 🙂 Thanks again. Very helpful. Heidi
Thanks for the info. I had to remove my towel holder to put in a cabinet. Didn’t know how these things were attached. I would note, though, that it would be a good idea to run a utility knife around the outside of the fixtures so that when they get pulled off the wall, a bunch of drywall paper doesn’t come off with it 😉 Nothing that drywall compound didn’t fix. Good info.
Thanks for the great information. I was about to hire someone to do this and spend a fortune. I hate those ceramic towel bars too. Hey builders, just leave them off the truck and allow the owners to buy their own towel bars! You could save yourselves some money too.
Thanks for the instructions! Wish I had them earlier; my husband almost removed half a wall when removing the toilet paper holder…well not half a wall, but you get my drift. Unfortunately, the builders left a lot of trash behind the wall. Yes, there was a hole in the wall. lol
Nancy I totally agree with you!!!
SO glad I found this post! I was dreading the removal of these hideous things from three of our four bathrooms. I simply took my wide putty spatula and began at the top and tapped with a hammer. Once I was about 1/3 of the way down, I switched to the bottom. (I used an exacto knife to cut into the edges as best as I could prior to doing this). At about 1/2 way through, the piece came off. I’m using quick drying patch compound to patch the walls.
Thank-you for the information – we are trying to sell our house in July and I need to do some of this fixing to make it look nice.
All of the above! THANK YOU for the information. I tried for days to figure out the secret way those things were fastened to the wall. Whatever makes people think that just GLUE is the right way??? Ridiculous. And of course they LOOK ridiculous too. Thanks again for the post.
Thanks for sharing
Mesh tape is to be used with setting type compound, not premixed/lightweight kind. I would fill the void with setting type as it is harder and “dries” (sets) faster due to the chemical reaction, more moisture resistant and less cracking. Use premix on the top coat as finishing if you wish as setting type is hard to sand.
Thank you and very useful information. I tried to replace the ceramic soap holder which was fixed on tiles and it turned out to be a nightmare because it came out with portion of drywall. Luckily I had double drywall in that area so I installed a piece of drywall on top of it and fixed a with a new tile. Now I have left over materials and confident so I will remove ceramic towel hangers which is on the drywall.
Thank you for the info ,it was very helpful.
I was hoping there was an easier way but that is what I expected