Edited: Not to be confused with the new posts, this DIY project was done in our old house.
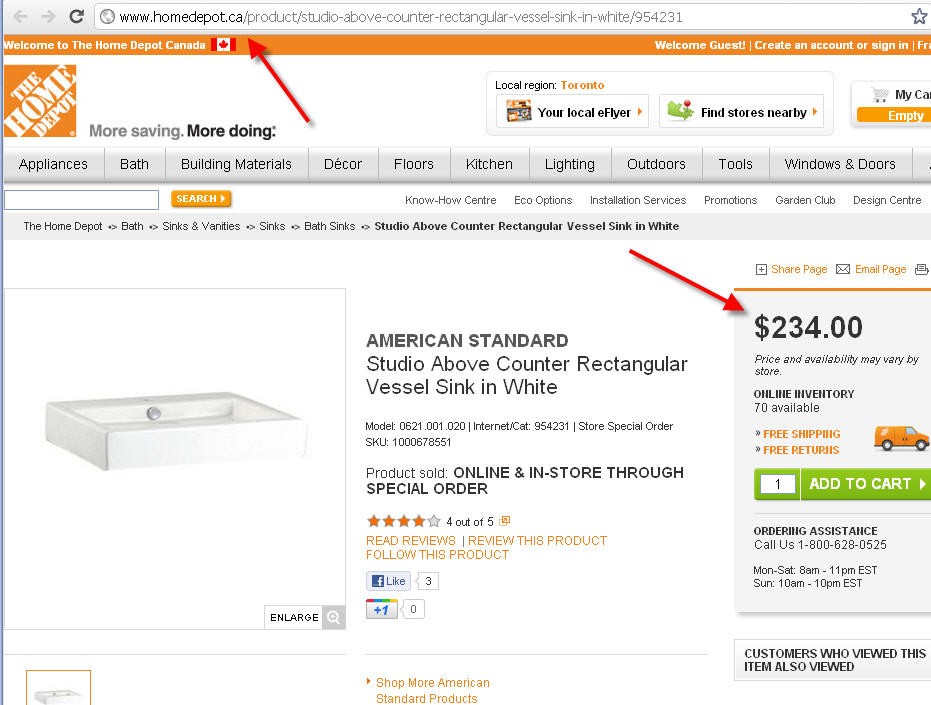
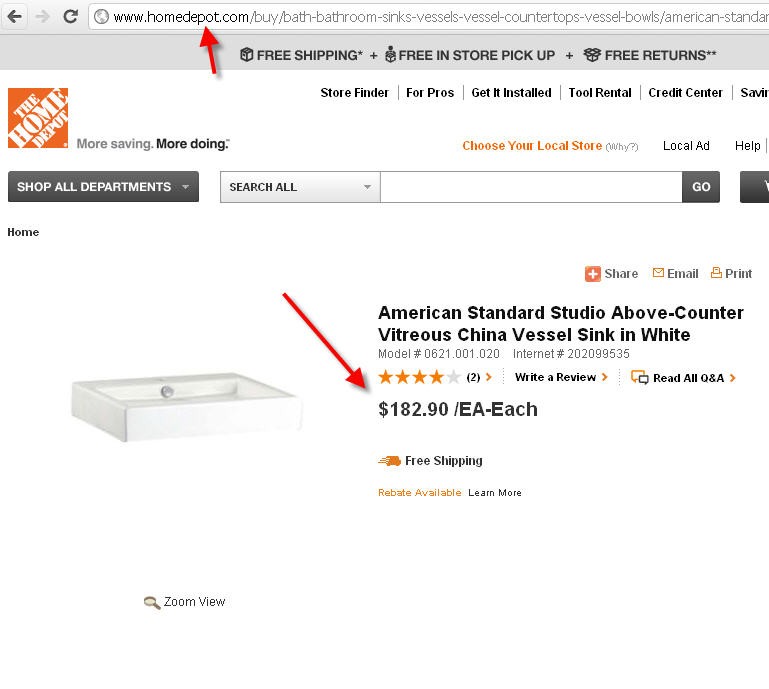
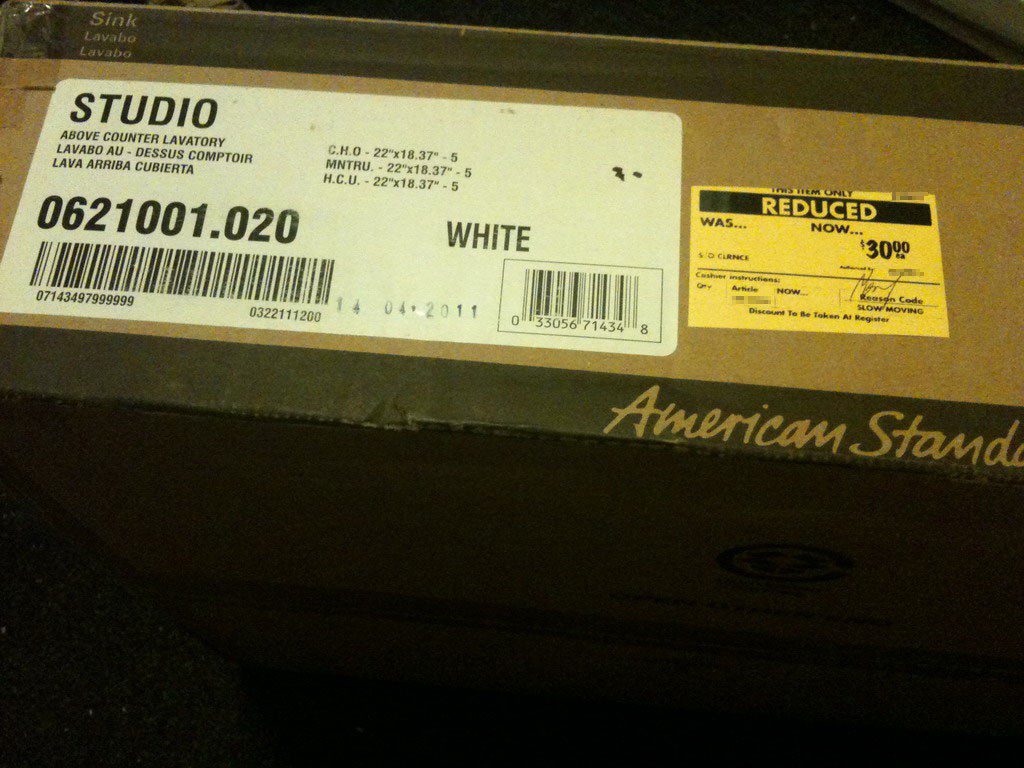
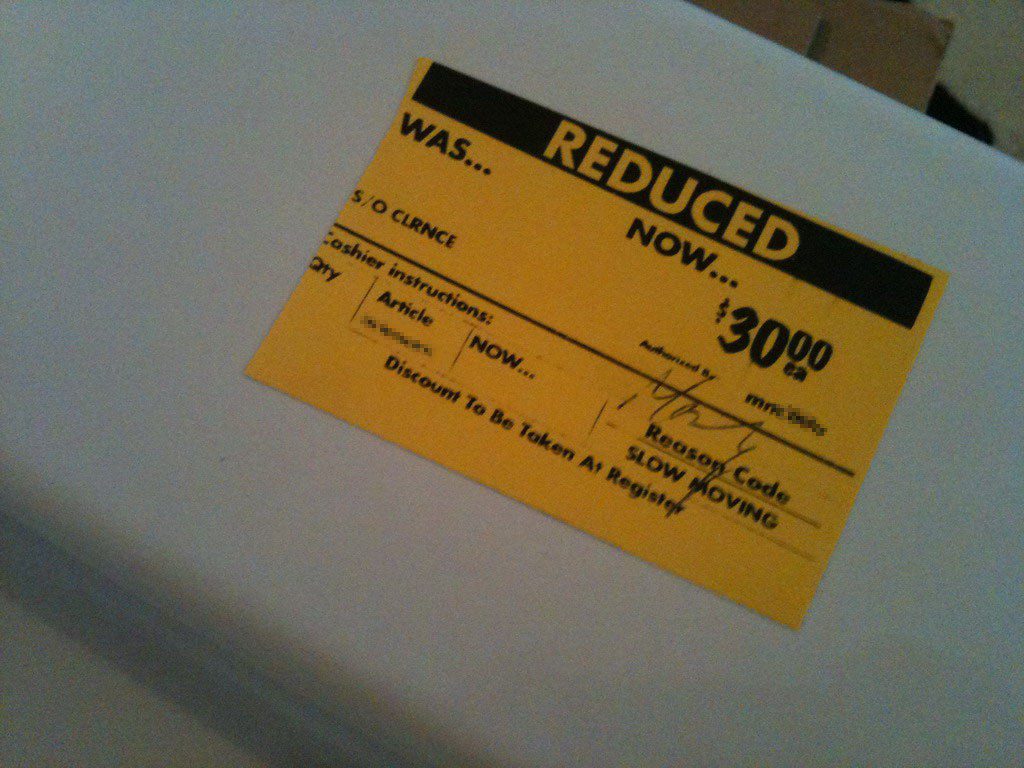
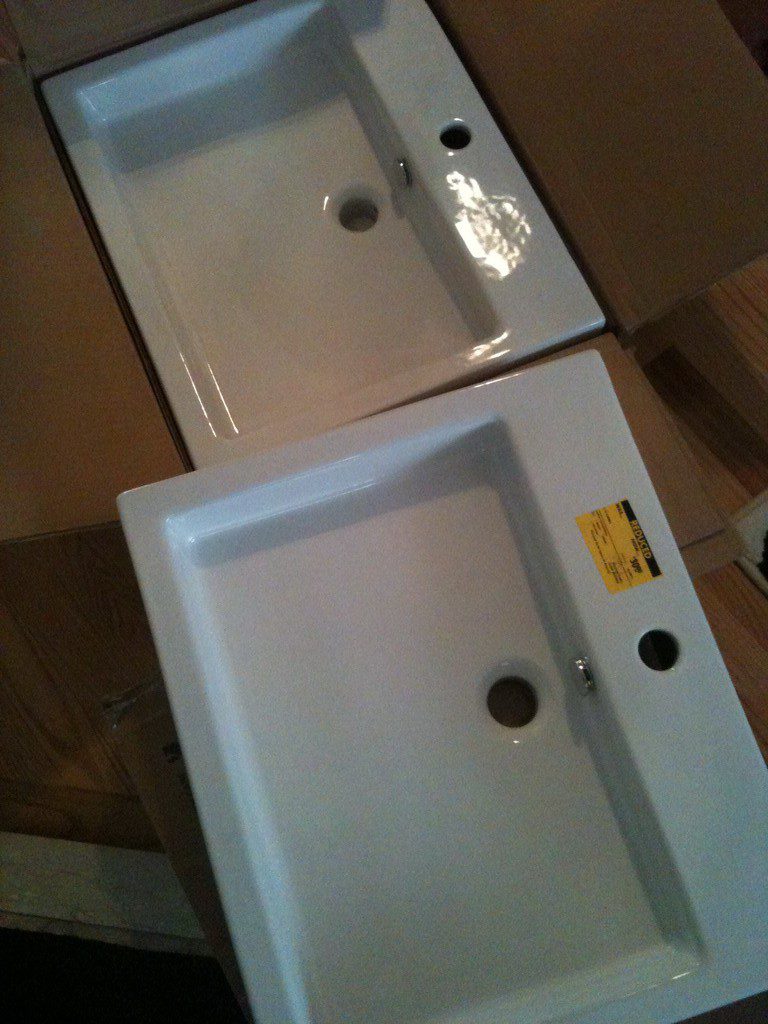
One night after having dinner, Deb and I went to Home Depot for a walk looking for some ideas on powder room vanities. At sinks and vanities department, something on the floor caught our attention – there were 2 unopened boxes with yellow clearance labels on it for $30 each. Out of our curiosity, we opened them and thought it was just some cheap sinks, we thought that the regular price would not be exceeding $50 CAD each. After checking the SKU on our cell phone, we were SHOCKED to learn that they were selling for $234 CAD at HomeDepot.ca and $182 US in the States.
We were a bit surprised that no contractors picked it up yet perhaps it was late that night, so I talked to an HD associate in that department and he told me that it’s a “Special Order” someone paid for the deposit and backed out from it. He said that the SKU was NOT even on their store computer, they just marked it whatever price to get rid of them – Nice! So we took both of them to the cashier and spent at least 10 minutes because the bar code or SKU was not found (not surprised). They ended up calling the manager to override it and we paid $60 CAD for both. What a deal! With tax, we paid $67.8 ($30×2) vs $525.5 ($234×2) value, saving of $457.65!!!!
Ref: AMERICAN STANDARD – Studio Above Counter Rectangular Vessel Sink in White (Model: 0621.001.020, SKU:1000678551)
Shopping for the Faucets
Since we got such crazy deal on the sinks, we wanted the same on faucets too. We looked at various brand names including Delta, Kohler and Price Pfister but they were way too expensive. So, we ended up buying the faucets from Costco for around $65 each, it’s made by “Water Ridge” which I have never heard of. One thing that looked promising was that it uses ceramic disk supposed to be more durable, but who cares since it looks good and it’s cheap. It also comes with 25 years warranty (if you are able to get hold of them).
Installation – 6 hours for 1st and 3 hours for 2nd
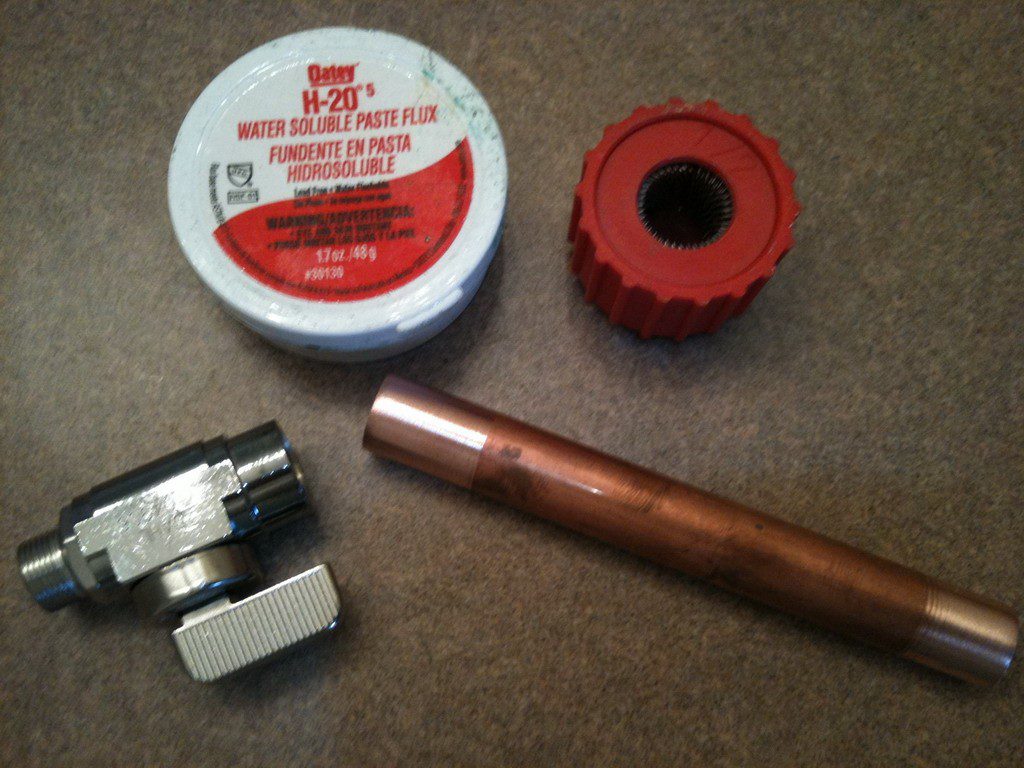
Installation was not that difficult, although there were some challenges. As you can see in the photo of 1st sink installation, because the new sink is 4.25″ above the counter top, I had to extend the copper pipes as well as the ABS drain pipes. On the copper pipe, I put additional shut off valves to make future maintenance easier.
My soldering skill was still pretty good, since I haven’t done it for at least 4-5 years, there was no leaking at all when everything was completed. It took me half a day for the 1st sink including 2 trips to home depot to get parts. It was a bit longer than I expected and for 2nd sink, it took half of the time. We are very happy with the result, we just love this contemporary above counter top rectangular sink design. Too bad it’s not on granite counter top, otherwise it would look even better. Finally, Rini jumped up onto the sink to examine it.

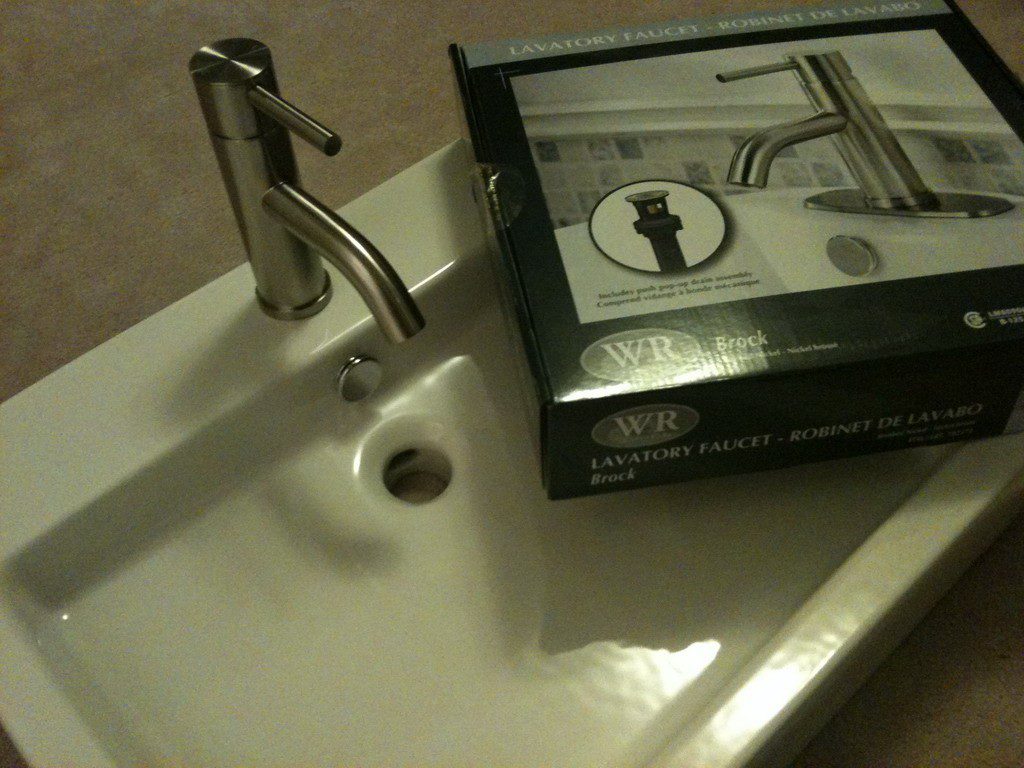
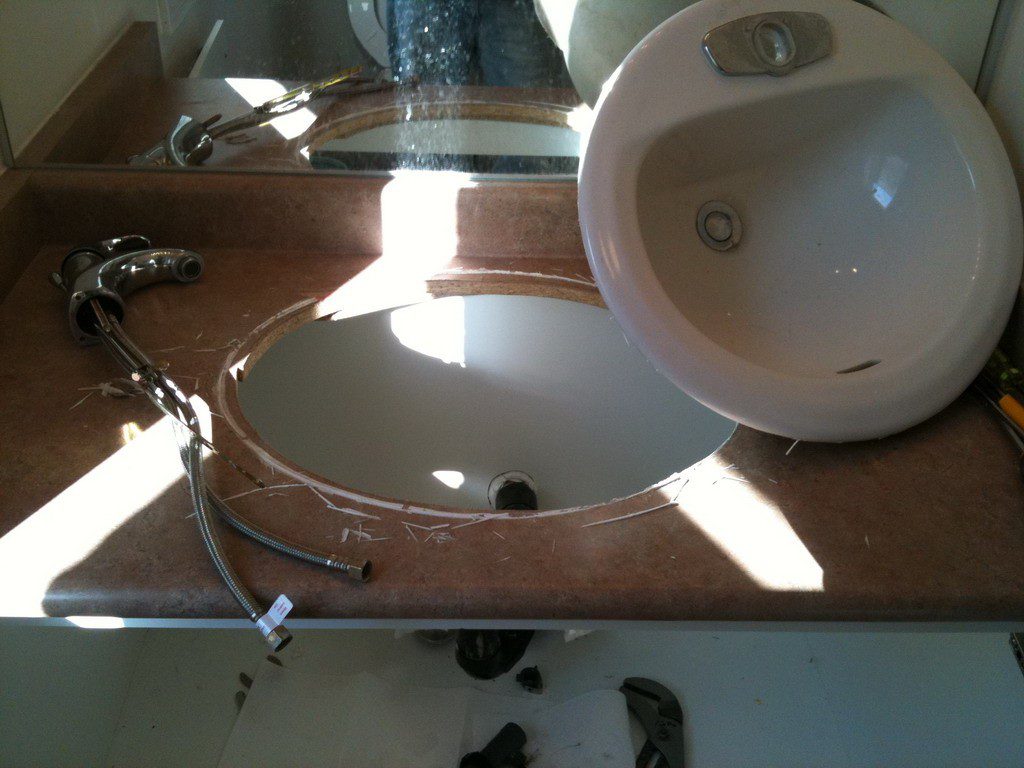
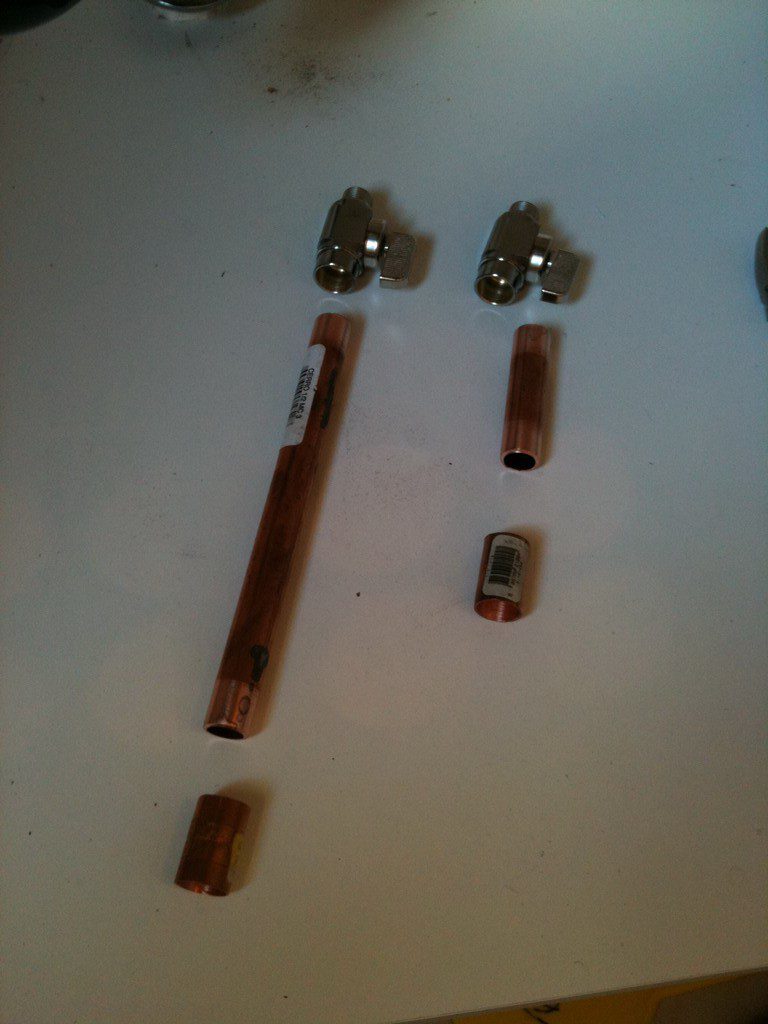
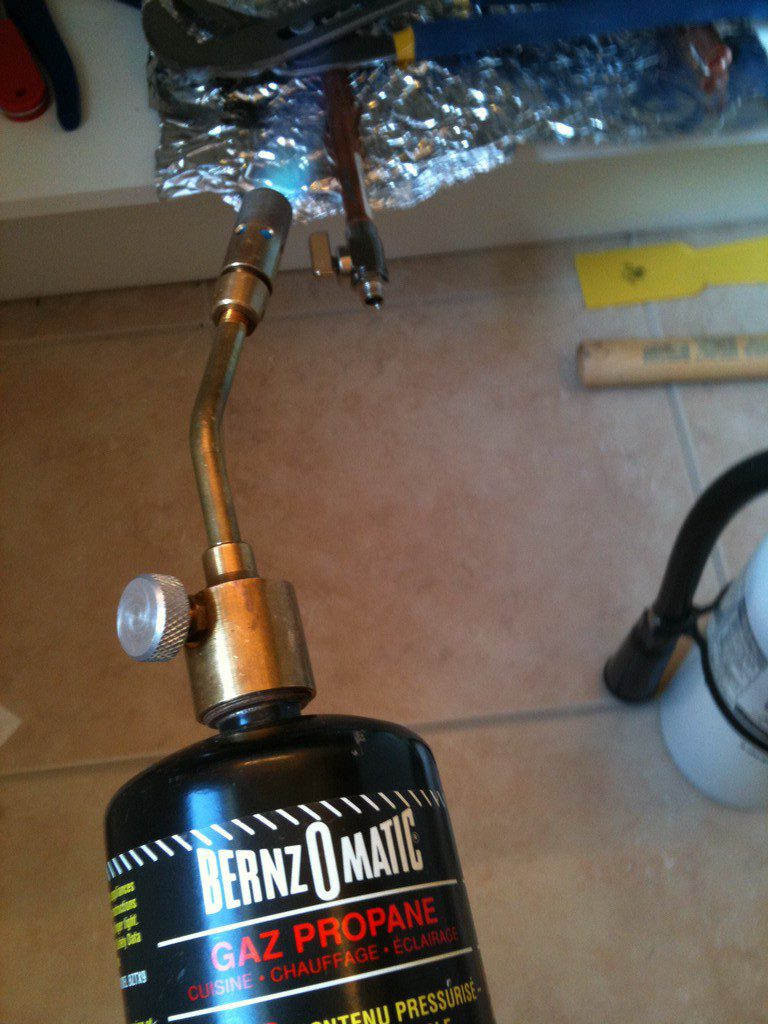
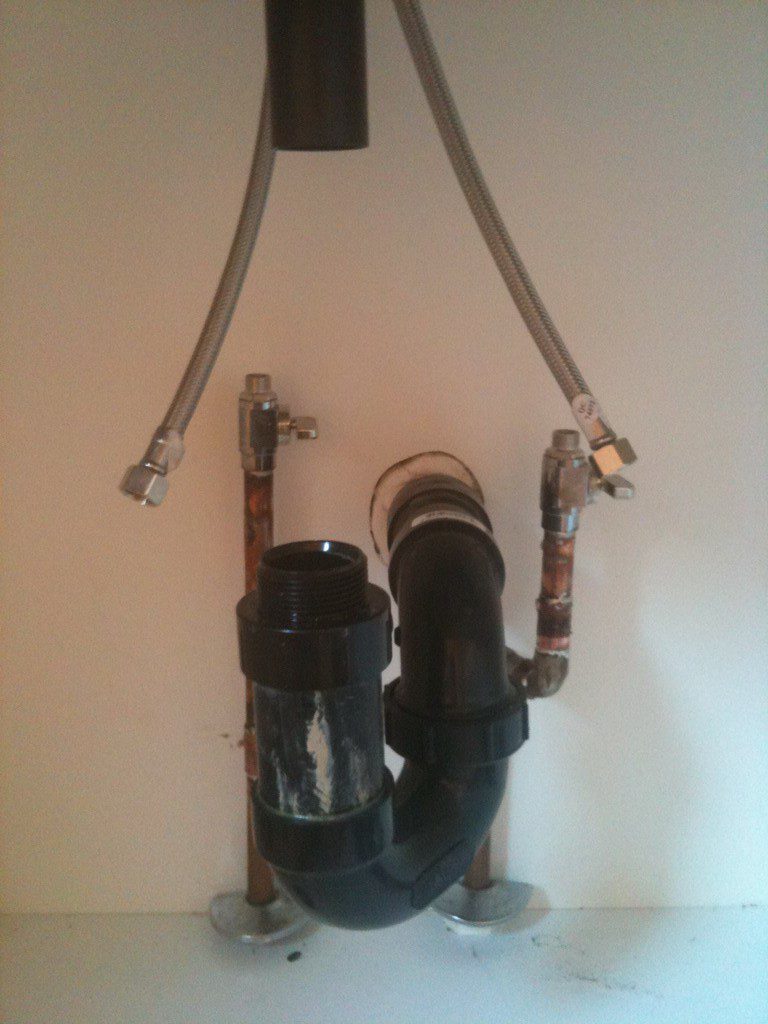
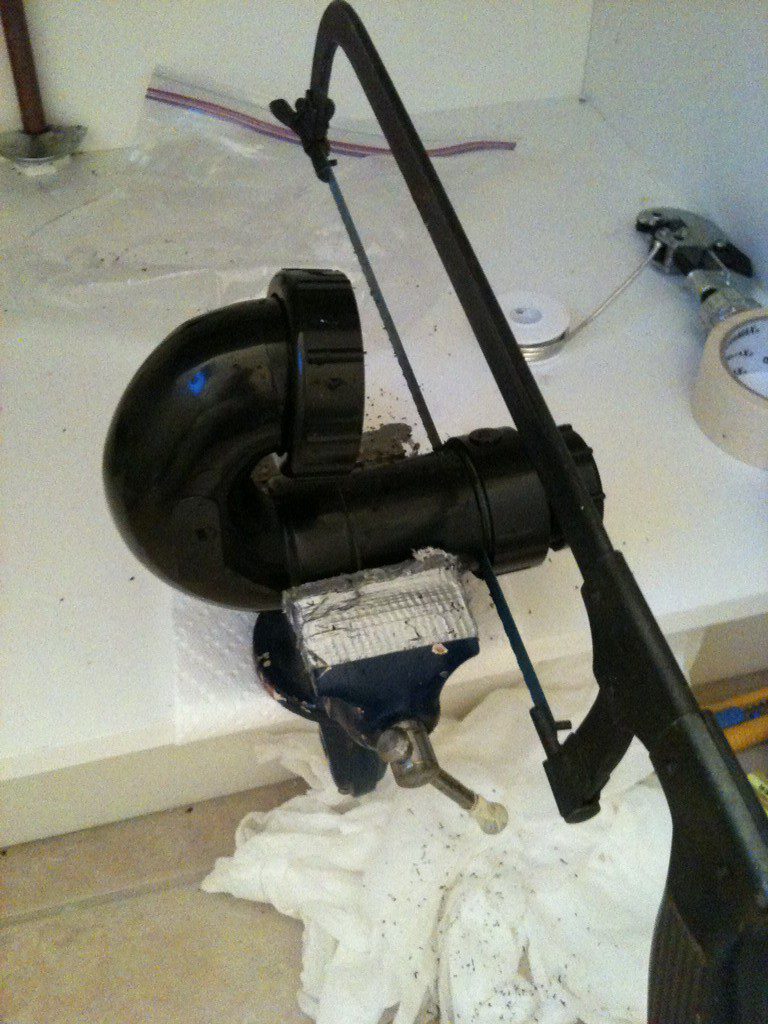
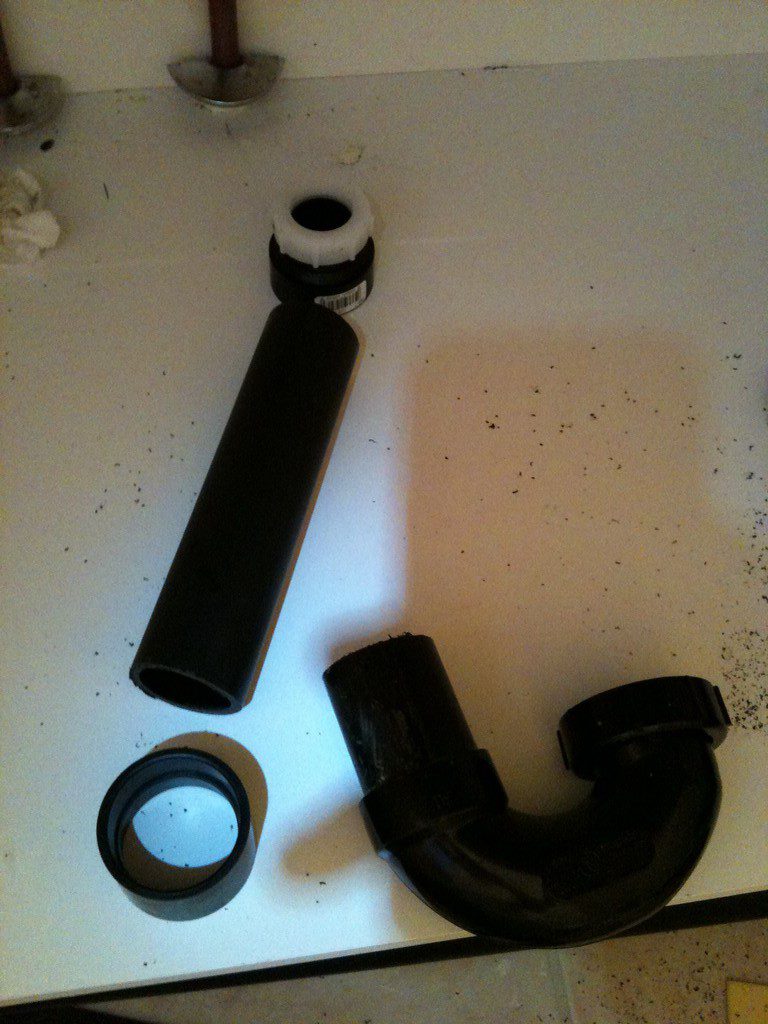

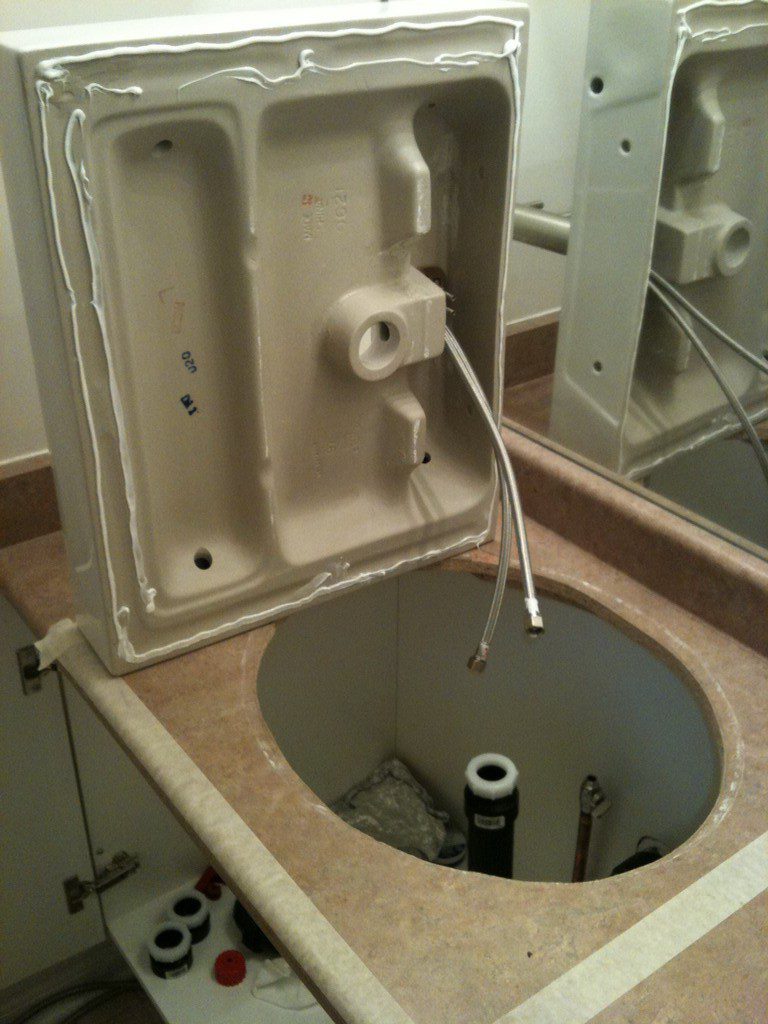



(All working in progress photos were taken using iPhone, so quality wasn’t that good – photos were mixed with both 1st and 2nd sink installation. Rini photos were taken using DSLR)
When to use Telfon tape or pipe compound?
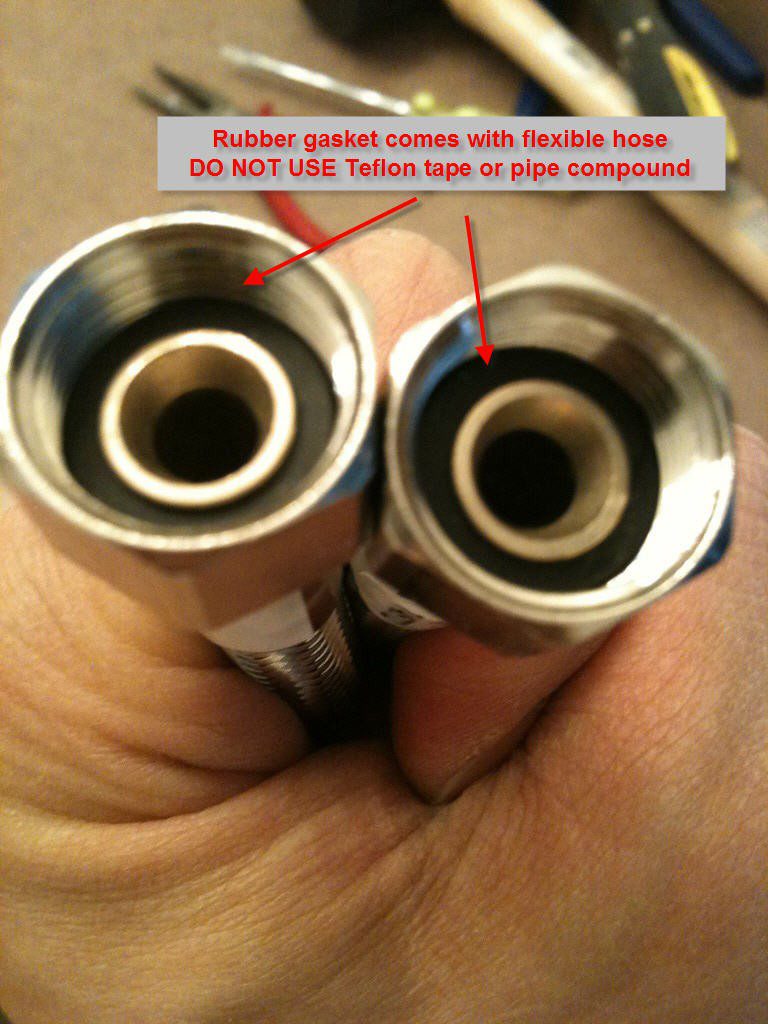
The installation manual of Water Ridge said you need Teflon tape or pipe compound on the water line connectors – That is wrong. Since the flexible hoses come with rubber gaskets, it uses compression on the rubber to make it water tight, there is NO NEED to use tape or pipe compound on thread level, similar to your garden hoses or washing machine. Google it yourself, pipe compound on rubber gaskets will make situation worse. Note: With rubber gaskets, never over-tighten.
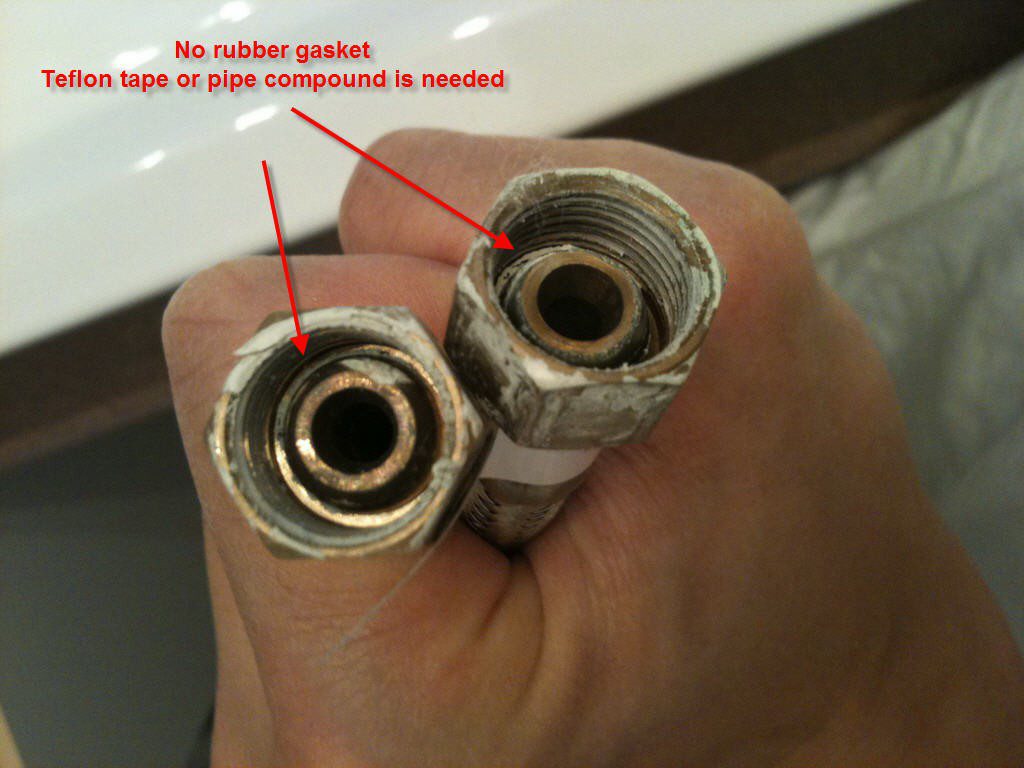
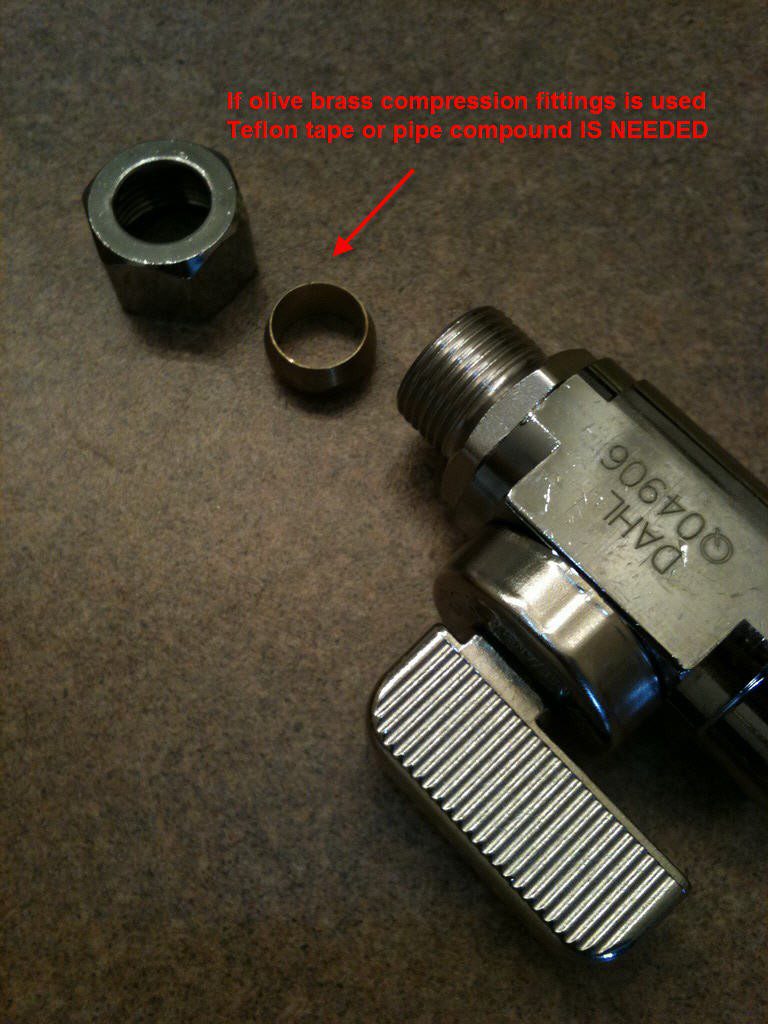
So, when to use Telfon tape or pipe compound? Basic rule of thumb: Anything without rubber gaskets. For example, if you are using olive brass compression fittings in toilet supply line (non-flexible one), then you would need. In the photos, I have shown the old faucet where it didn’t have any rubber gaskets, therefore pipe compound was used. Another example is that fittings without rubber gaskets I fixed in Rancilio Silvia V3 pump leaking on my espresso machine.
American Standard Overflow Flaw
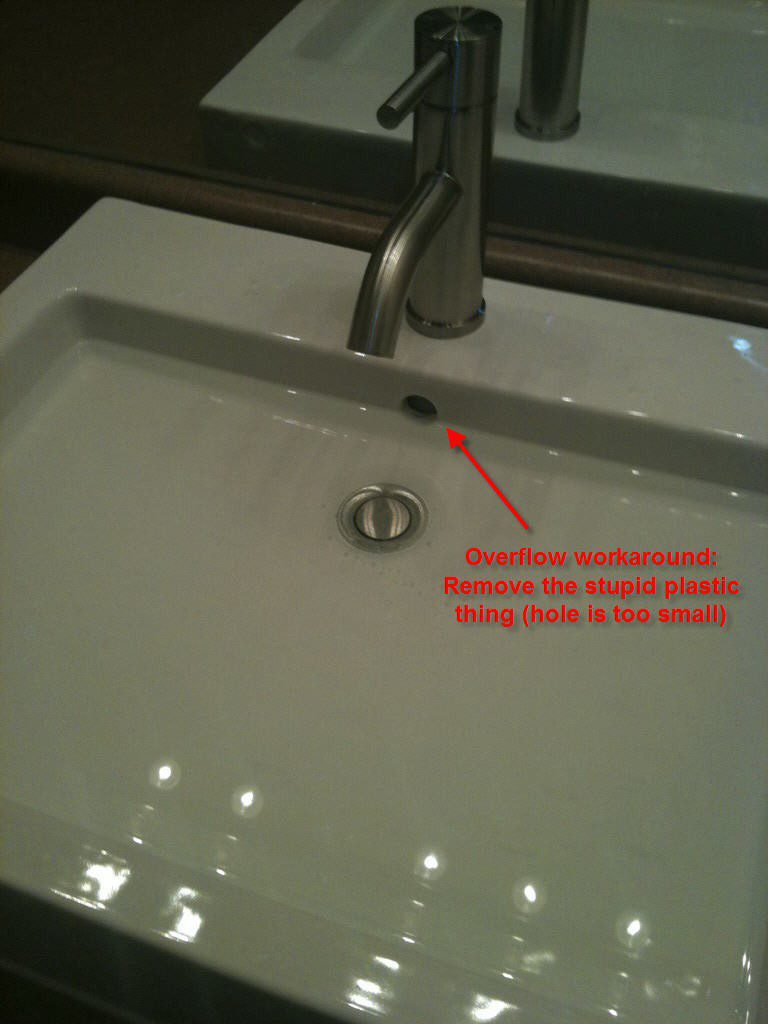
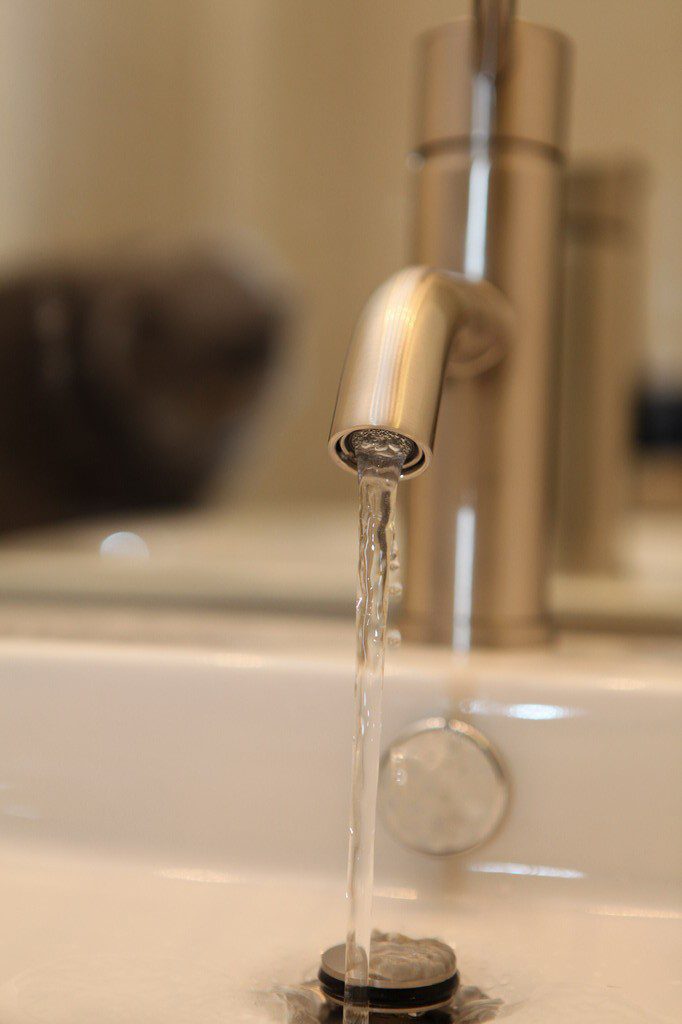
As a Software Engineer, I love put stuff to the test and push them to the limit. See the last few photos? The water could not drain fast enough through the overflow hole, I think that’s a serious flaw because I tested my old sink and it didn’t have this issue. The problem was caused by the plastic decor thing where the hole is way too small, workaround is to remove that and no more overflow! Perhaps someone from American Standard needs to take a “Water Overflow 101” course.
Tips:
- Since one of the copper pipes was way too close to the panel at the back, I wrapped a stack of wet paper towel with some aluminum foil. So the flame would not burn the back during soldering.
- Use Plumber’s Putty around faucet head to create watertight, anything else please use Silicone II caulking, including the drain. As you can see in one of the photos, Water Ridge has a YELLOW warning sticker telling you DO NOT USE Plumber’s Putty on drain pipe – Only Silicone can be used.
- For the tight space where the caulking gun couldn’t be reached, extend it using a small plastic tube, it worked.
- Water Ridge gives you a very unique tool to open the front of the faucet, there is a filter you may need to clean after several years. It’s a good idea to keep everything with the manual in a zip-lock bag and tie them under the sink. Also, wrap the hot water line with foam.
